PCB Design and Fabrication
October 20th, 2008Tags: fab, fablab, how to make almost anything, htmaa
Week 6: Design a PCB and fab it.
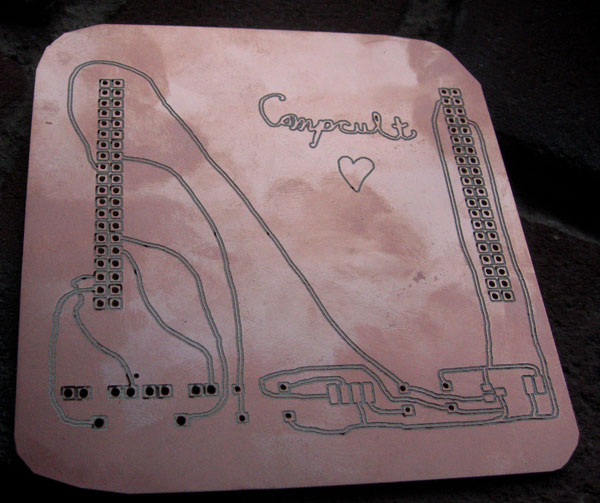
The Telit board requires both serial level conversion and mounting space for things like status leds, microphones and loudspeakers. To do the assignment, I tried to make a boad in Eagle first, which didn’t go so great pre-tutorial. To make the board millable, there need to be a certain amount of spaces between the traces which I was finding difficult to model. Finally, I exported the packages (i.e. the pads on which the parts are soldered) from Eagle as .pngs and used them in Illustrator to draw a board.
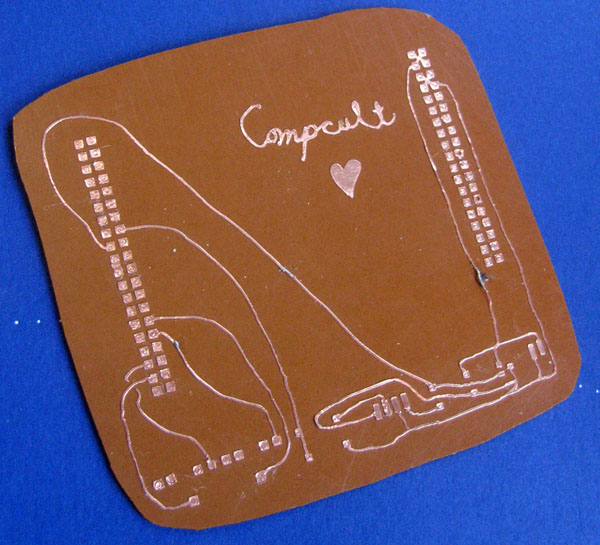
Vinyl cutting can be a lot easier for bigger boards, or so I was told, so I tried that first. To vinyl cut the board, you load a piece of the copper sticker and first cut your traces (I used a force of 45) and then lift the entire piece of copper with masking tape. The masking tape and copper sandwich is then transferred to whatever you want your circuit to be on (in my case, fenalic), and you need to scrape all over the masking tape to make sure the pressure set adhesive sets. Then you pull off the masking tape and proceed to weed out with excess copper with tweezers.
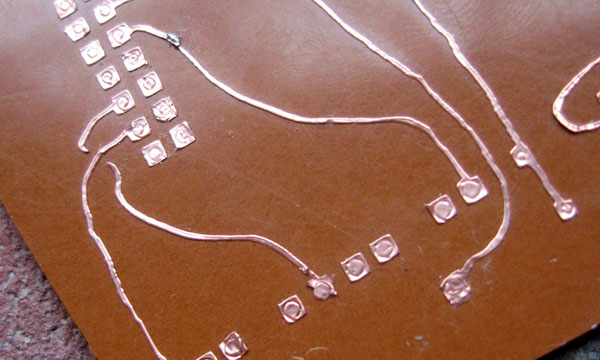
It doesn’t necessarily work too well with super fine traces, so in the end I needed to do some board repairs.
In the end I recut the copper sticker with a tool diameter of 0.2, which causes the contours to be place further from the design, giving you thicker traces which are better.
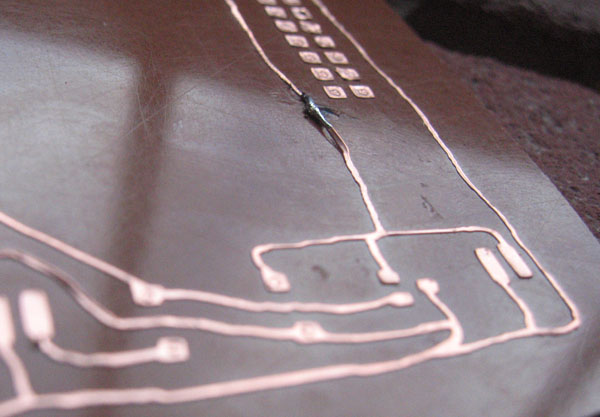
Once I started drilling the holes in the fenalic though for my dip parts, I realized that the copper was letting go and the whole deal was sort of suboptimal. So I decided to go with milling after all.
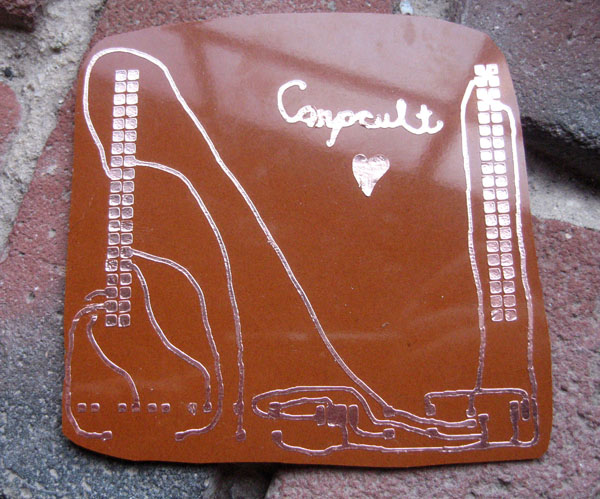
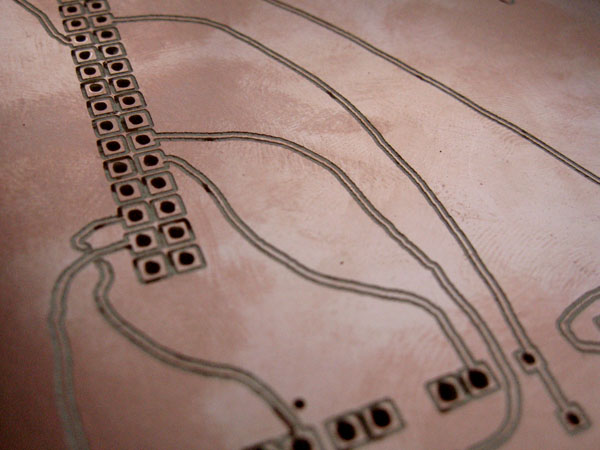
The setting for the modela when using a .png are not already set for circuit boards like Neil’s files. You need to set the zmin to -0.015 for milling the traces and the zmax to 0.1 for where the tool will be travelling inbetween traces.
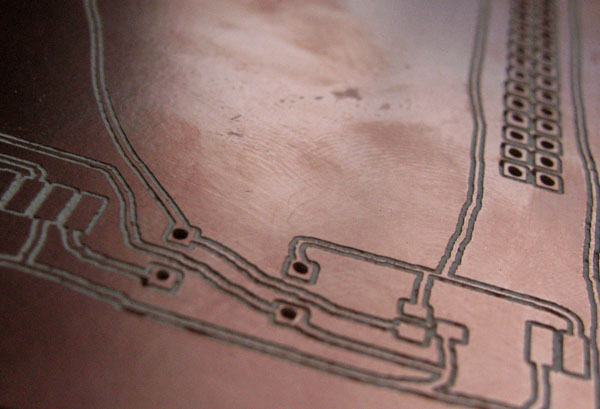
I only contoured the board 3 times for the milling, as milling the rest of the copper would really take forever and wasn’t really necessary.
Finally, I ran into lots of problems milling the throughholes. Basically you can’t do this properly on the modela, because the set screws allow the drill bit to move too much each time. Instead I milled out the first part of the holes with the 1/64th end mill in the first milling, and just drilled the remaining holes with the press drill in the shop.
