3D printing and scanning
October 27th, 2008Tags: fabclass, fablab, how to make almost anything, htmaa
Week 7: 3D scanning and printing
My initial plan was to scan in a Dorrance hook and then model the joint to be functional. The 3D printer prints in both wax and acrylic, where the wax is melted out of the model allowing the user to print complicated joints without having to join them afterwards. The scanner was however a lot less easy to deal with than I thought, as was the 3D software.
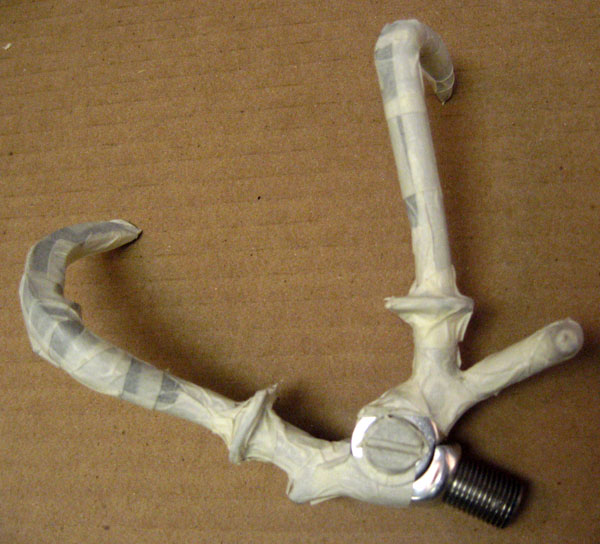
Scanning metal
The first problem I ran into was that my Dorrance hook was too reflective, the lasers would reflect off in such a way that the scanner would not be able to pick up enough points to model the object. The first solution I tried was to use the powder markers (baby powder in a pen applicator) provided with the scanner, however they did not reduce the shininess enough. After that I tried to cover the whole thing in vaseline, which also did not reduce shininess enough. Finally I just covered the whole Dorrance hook in masking tape.
Laser intensity
Now that the laser could actually see the object, I needed to start calibrating the Minolta. I used the telelens, which you need to screw in completely as well as screw in the solar-cap like thing that comes with it, or the software will not recognize the new lens. Once done, you can hit any button on the back of the Minolta to get it to recalibrate with the new lens.
My first idea was to use autofocus, which didn’t work very well. When I first took it off autofocus, I thought i would just need to increase the laser intensity as much as possible. However, more laser intensity and an automatic range focus might have the scanner focus on either dust in the air or stuff far behind the object you are scanning. In the end I went with a fixed focus which I determined in the range viewing window (try to get your object as white as possible without too much background noise) and a laser intensity of 12. I still got random noise around the hook, but at least not pieces of the cabinet behind the whole setup.
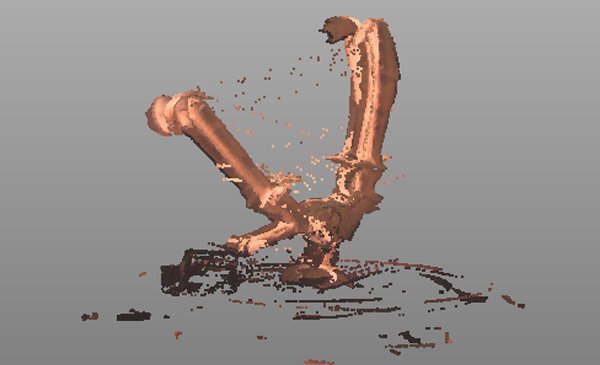
Degree and number of rotations
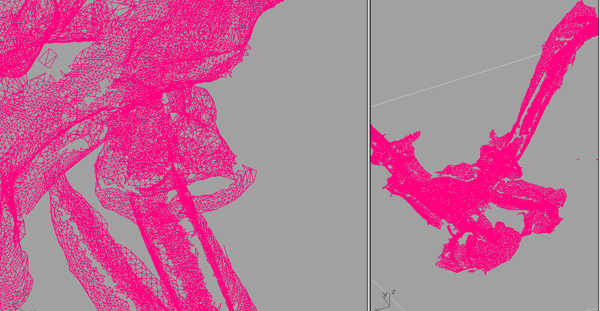
The first scan I did was with 90 degree rotations, 4 scans in total. It generated an entirely holey model, and I noticed that my hook had moved a little while scanning which caused the model to misalign. I tried again after with 45 degree rotation steps, which was a bit better but still full of holes.
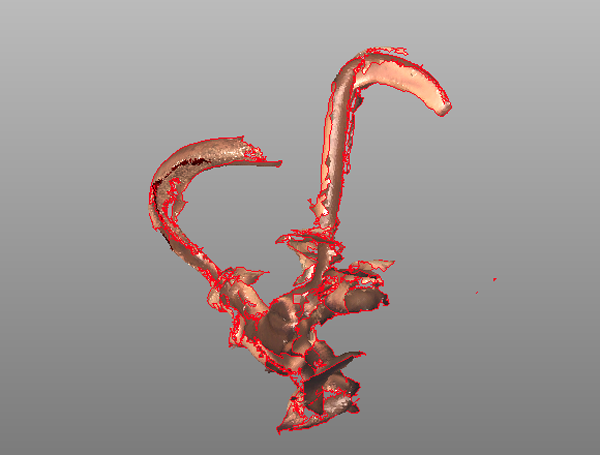
Geomagic has an ok interface for filling the holes, but if the model is too holey it won’t necessarily know what to do with big open spaces. In the end I rescaned the object yet again, this time completely anchored with playdoh, fixed focus, laser intesity of 12 and a rotation step of 20 degrees. Each rotation step I scanned 3 times to get as much data as possible. This means you will have to trim away a lot of noise, but you will be able to make a better surface.

SketchUp, Blender & Rhino
After a while the hole and partial hole filling of Geomagic wasn’t going to suffice, so I started on my discovery of 3D programs. Whatever you do, don’t bother to use Rhino on the 3D scanner computer, that version is so old nothing you look up online will be valid. Geomagic can output .DXF, which can be read by almost all 3D scanner programs, but it is a bit flaky with how it does it. If you don’t manage to export .DXF, Blender and Rhino will both also take .STL files.
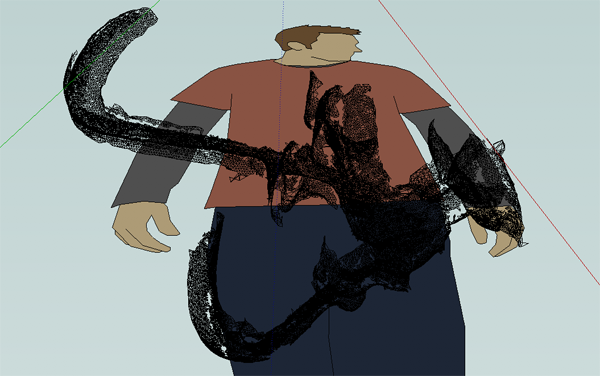
I didn’t actually really figure out how to stitch surfaces in either Blender or Sketchup. The best I seemed to be able to do was draw surfaces around the existing model, using the model basicallly as a skeleton. That wasn’t very precise though, so I opted in the end to find some Rhino experts (props Jonathan!) for help.
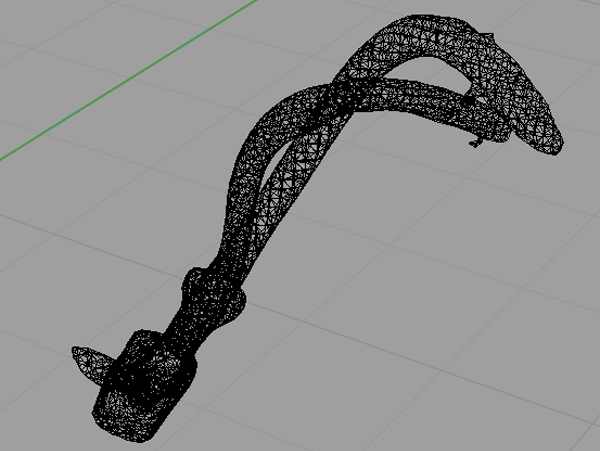
Rhino steps
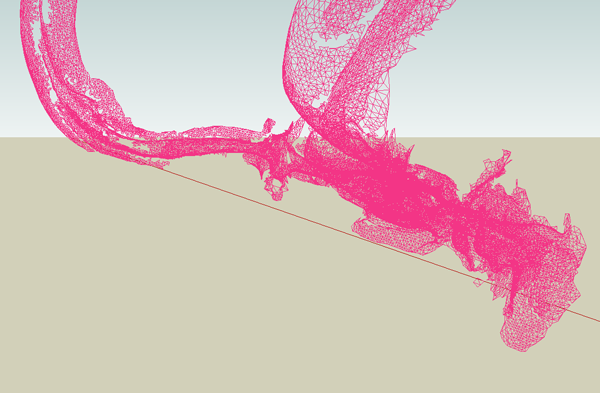
To deal with Rhino, you want to be able to have your model be NURBs instead of a mesh. To convert to NURBs, you need less than 20 000 polygons. My first model had about 180 000 polygons, and decimating it in Rhino pretty much set the computer on fire. So I used the decimate function in Geomagic after all, and reimported my model, now with only 12 000 polygons. After some smoothing and stitching up the now exploded model, the model looked more or less ok. Unfortunately, it was still totally messy on the inside. Finally, the trick we used was to drape a point cloud over the object and create a mesh from those points (DrapePt). The last thing we did was adjust the normals of some of the polygons, because deviant normals apparently cause your model never to be printed.