Fitting process for a bilateral below-knee amputee
July 20th, 2010Tags: jaipur, jaipur foot, prosthetics
To be able to travel to India and work on low-cost prosthetics, I am generously funded by the MISTI Global Seed Funds.
Yesterday I shadowed the hilarious Pankaj in fitting a bilateral below-knee amputee at the Jaipur Foot Clinic. On a day with more than 100 patients in line waiting to be fitted and about 20 technicians on staff, he decided to make a pair of open ended prosthetics (no full contact socket).
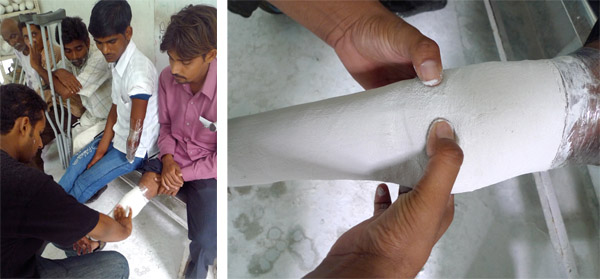
First the stumps are wrapped in cellophane and a plaster of paris mould is taken. They use cotton bandages they dip in PoP themselves, because pre-pregnated PoP bandages are relative expensive (~$2). Landmarks such as the patellar tendon are marked at this point.

A plaster positive is cast into the plaster negative, and is then modified to create a triangular shape by building plaster up over the shin, and plaster is removed from the patellar tendon, which will be a main contact point.
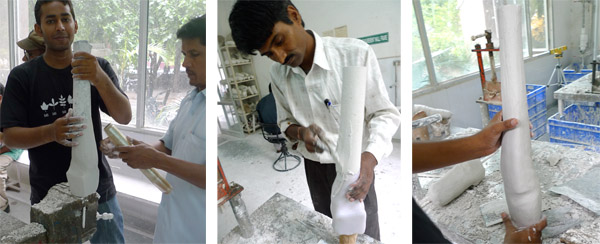
The positive is then extended, and the extension is grafted on with more plaster. The extension is what will give the rest of the leg shape. If we were dealing with a full contact socket, a polypropylene socket would be first vacuum moulded over the positive before extension, then the polypro socket would be extended.
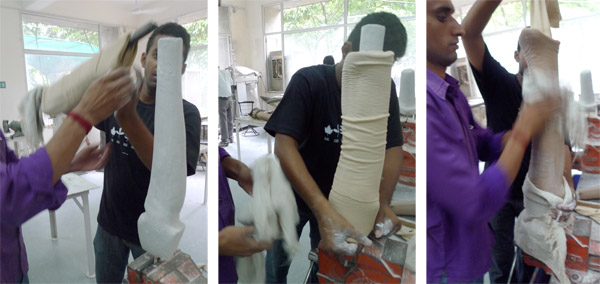
A HDPE pipe heated to 200C for half an hour is slid over the positive and hand moulded into form. Extra attention is given to the pressure points around the patellar tendon and behind the knee.
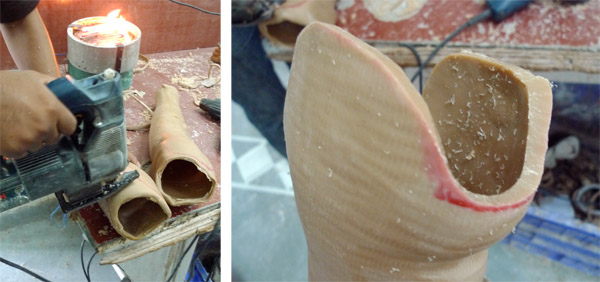
The pipe is cut to shape and sanded to remove any sharp edges. A lot of the equipment the clinic uses is Otto Bock (a prosthetics and prosthetic tools company based in Germany), such as their sander, ovens and vacuum moulder, but a lot is also simply hand tools.
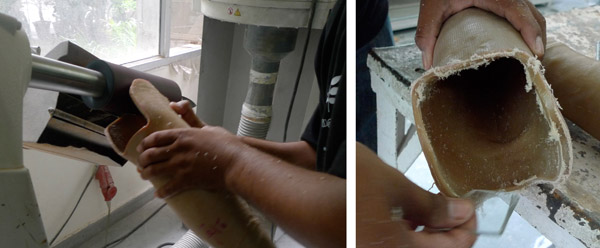
The final sanding is done with shards of glass, smoothing out the HDPE and removing any excess material.
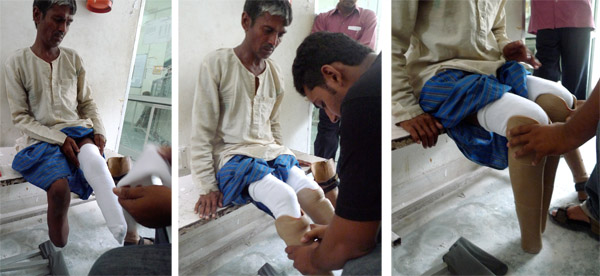
Before fitting the feet, the socket is checked with the patient. The patient is given cotton liner socks to wear, not silicone or nylon.
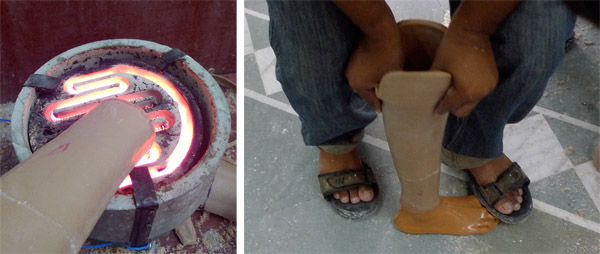
If the fit is acceptable (tight and no painful pressure), the ankle is heated an a Jaipur foot is attached with screws, drilled into the wooden ankle block.
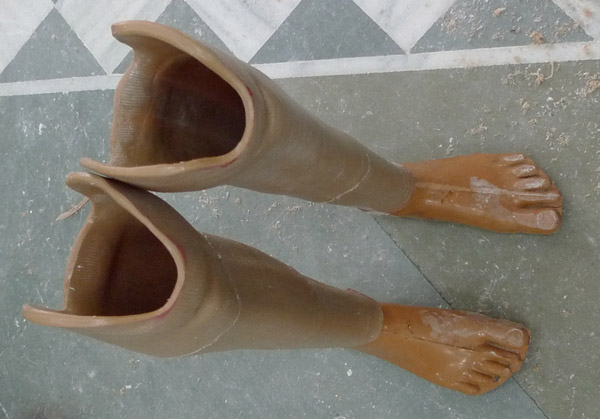
Alignment is done mainly by eye, the prosthetic should be able to stand freely.
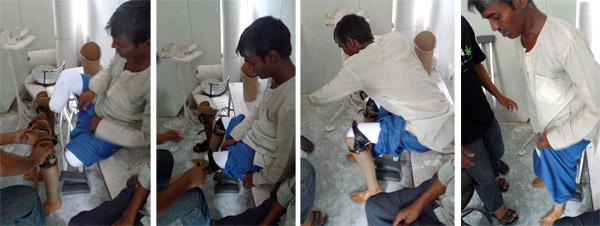
The patient is given the prosthetics and encouraged to walk to the gait training area. Within the hours that I was there, the patient (who is over 50 years old) managed to start confidently walking freely. It was all in all, kind of amazing.
