Gallium on my Swanky Chromebook
March 30th, 2016Tags: chromebook, chromium, crouton, disabling write protect, fun times, gallium os, linux, toshiba chromebook 2 cb35
So a mind-blowing thing both Neil and Jeff have been using as their main platform is the Chromium OS Universal Chroot Environment aka crouton. As far as I understand, it uses the Chrome OS linux kernel but changes the apparent root directory but still gives you access to some folders like Downloads. To me it seems like magic. Running it involves rooting your chromebook (it seems that running in developer mode on a chromebook is equivalent to showing all your data to anyone who cares to look), and then starting the chroots from the shell you can open on a chromebook by hitting ctrl-alt-t and typing “shell”. You can have a bunch of chroots, so I had both trusty and precise running for a while and it was getting tedious to remember what was where and how to update things. So instead, I decided to try Gallium OS. Here’s how I got it on my Chromebook (incidentally a Toshiba Chromebook 2 CB35).
Starting with https://wiki.galliumos.org/Installing, I decided to go with the “Traditional ISO Install”, and also nuke Chrome OS.
To be able to download the correct iso from https://galliumos.org/download.html you have to know which chromebook you have.
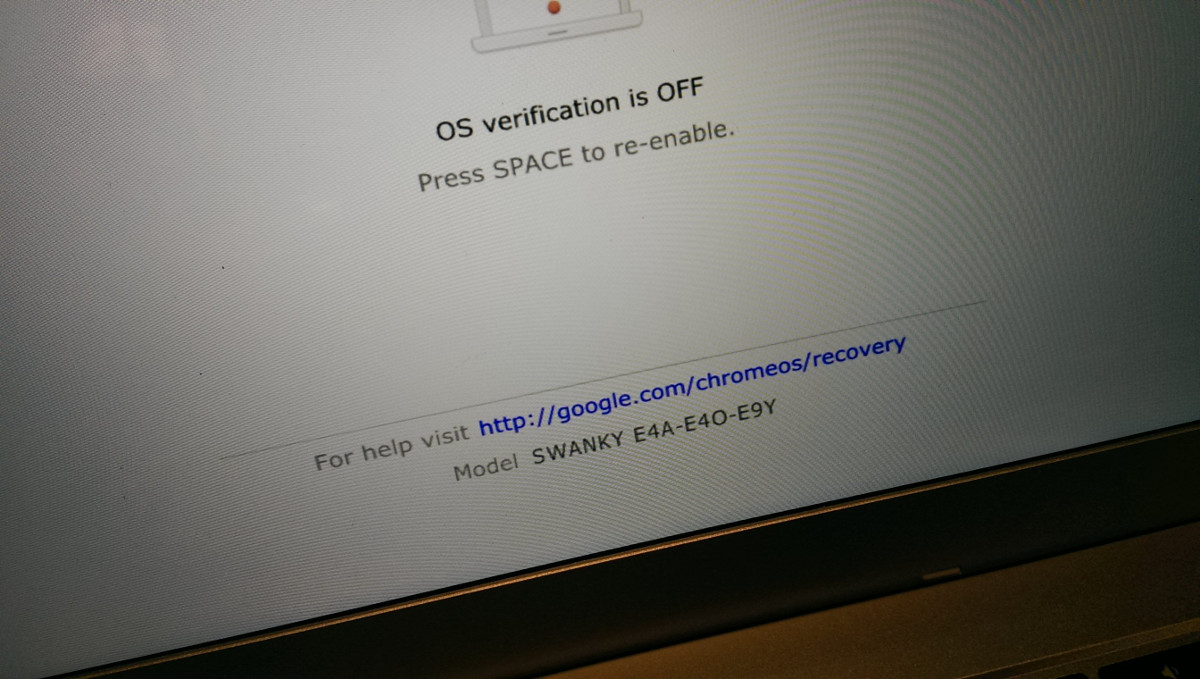
From this page https://wiki.galliumos.org/Hardware_Compatibility, it seemed like I either had a SWANKY Chromebook or a GANDOF Chromebook. When my Chromebook boots in its ugly developer mode splash screen, it says SWANKY so I assumed that was what it was even though it was purchased in 2016, not 2014 or 2015.
So I chose Intel Bay Trail for the ISO I needed to download. Then I had to create a bootable USB, which I used these instructions for: https://wiki.galliumos.org/Installing/Creating_Bootable_USB, namely
lsblk
figure out which is the USB stick partition and unmount that with
sudo umount -f /dev/sdb1
Then copy the ISO onto it with
sudo dd bs=1M if=galliumos-baytrail-1.0.iso of=/dev/sdb
So now I had to prepare my chromebook for loading this alternative OS, which means also flashing non-factory firmware according to this page: https://wiki.galliumos.org/Installing/Preparing. Fun! But my Toshiba Chromebook has write protect enabled, so I needed to disable that first.
I’m already in Developer mode because I was previously running crouton. To disable write protect I looked at these two links:
Disable write protect on Toshiba Chromebook 2 on Youtube
Here are some images of the process:
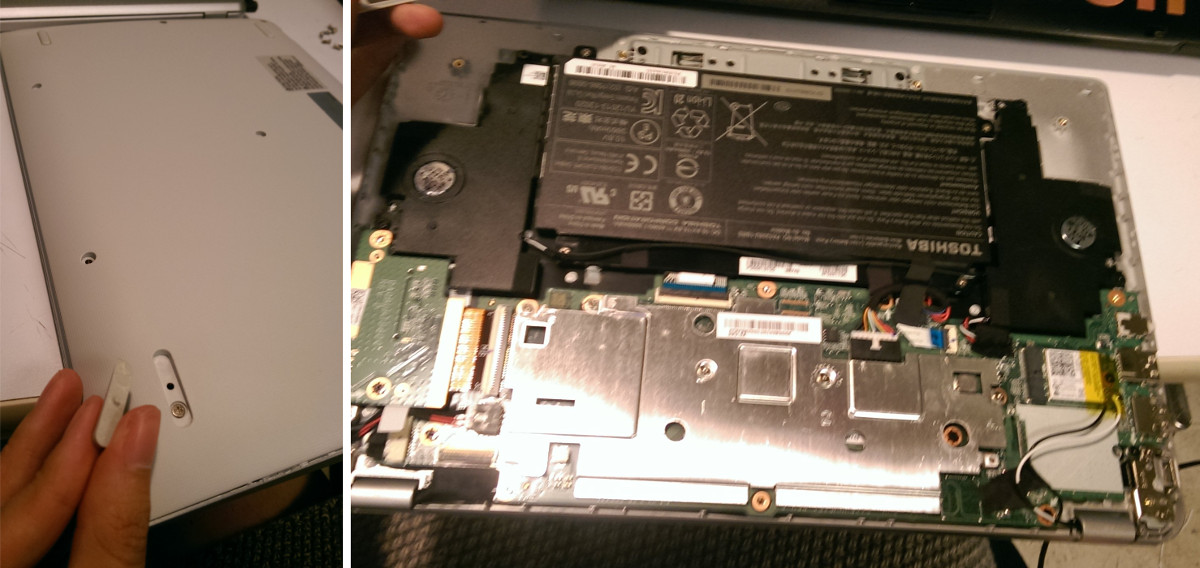
Note that two of the screws are under the little footpads on the opposite side of the hinge. The footpads are stickers you can just pull off. After you unscrew all the screws including the two footscrews, you can pull the plastic cover off, starting from the hinge side. Then you also need to unscrew the metal cover that is protecting the motherboard inside. Note that the plastic case screws and metal case screws are different sizes, so keep them apart.
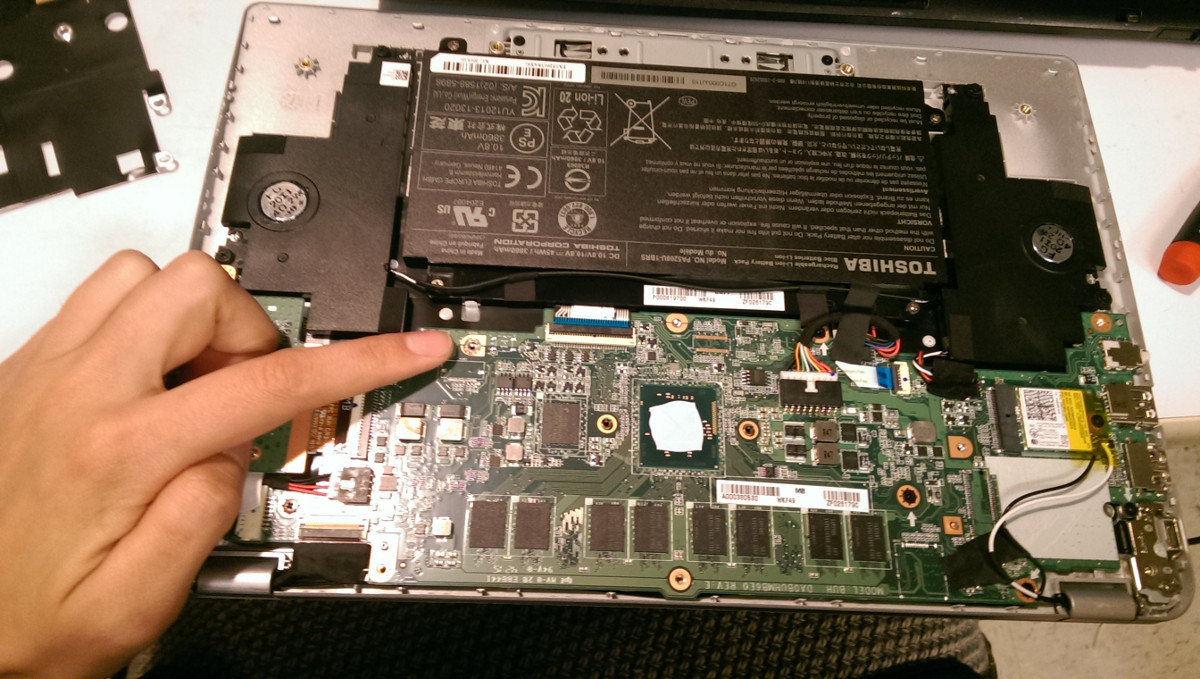
There are two solder pads bridged with a conductive sticker, which is what is enabling the write protect. You need to remove this sticker.
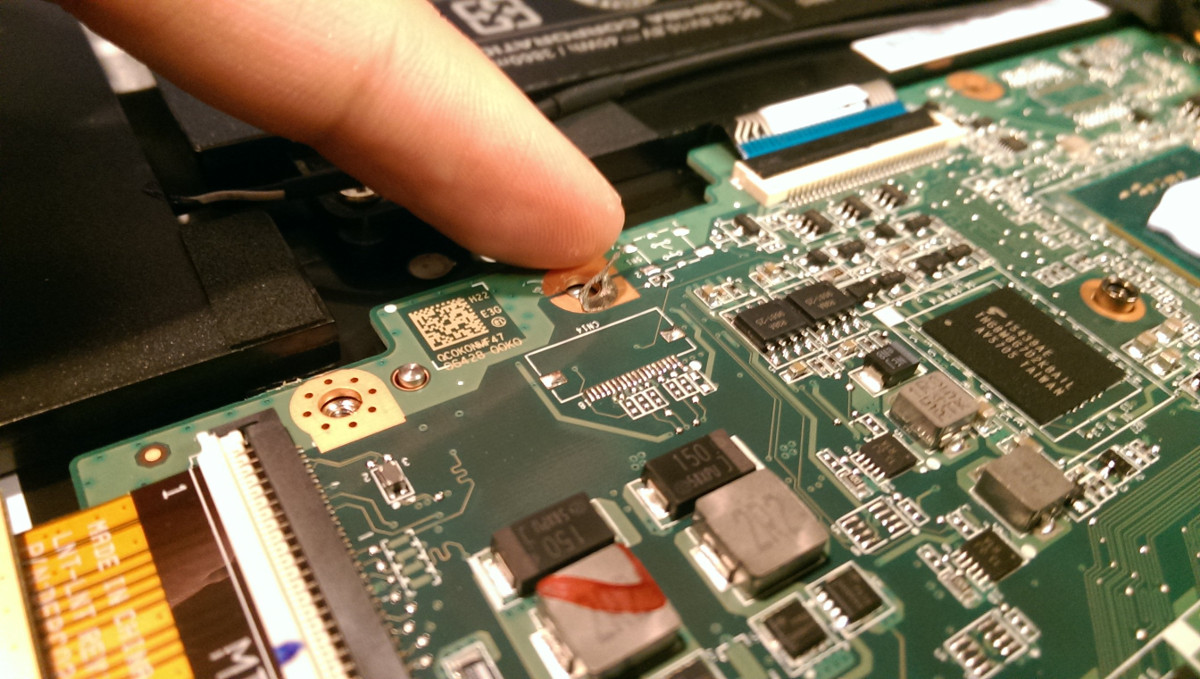
I just peeled it off with my finger. I stuck it on the battery pack in case I need it again later.
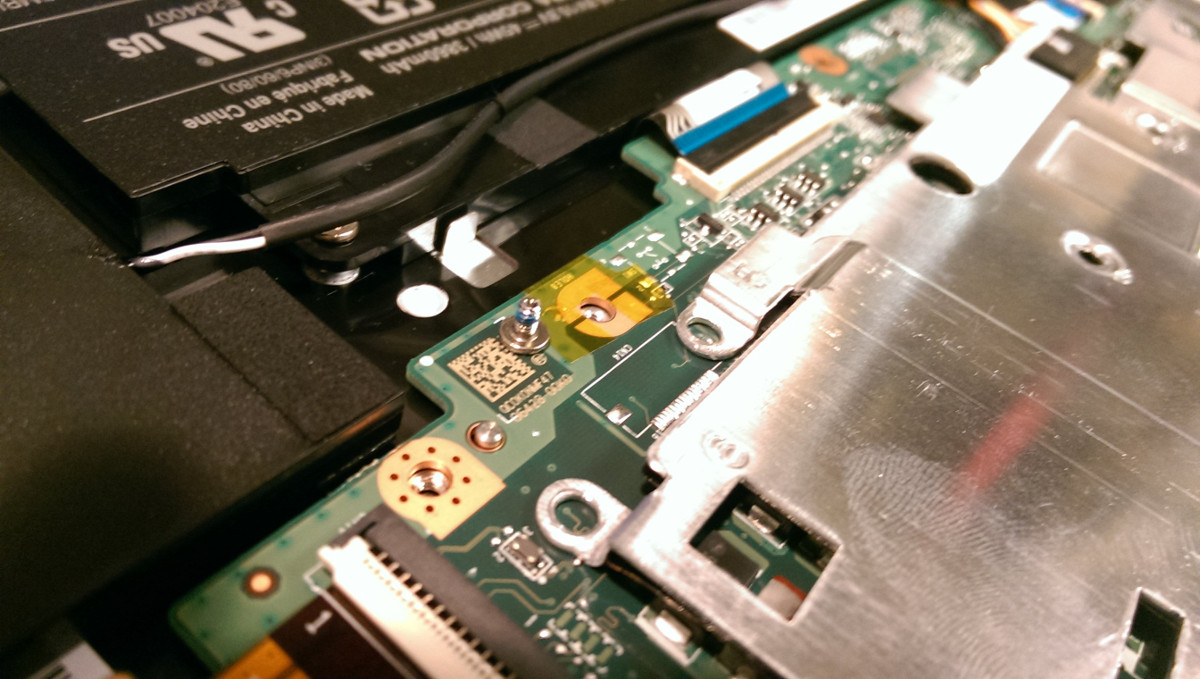
Then I covered up the pads with Kapton tape. This is so that when you screw the metal cover back on, the cover won’t short the pads. Note you have to leave the hole free, because that is where a screw will go in.
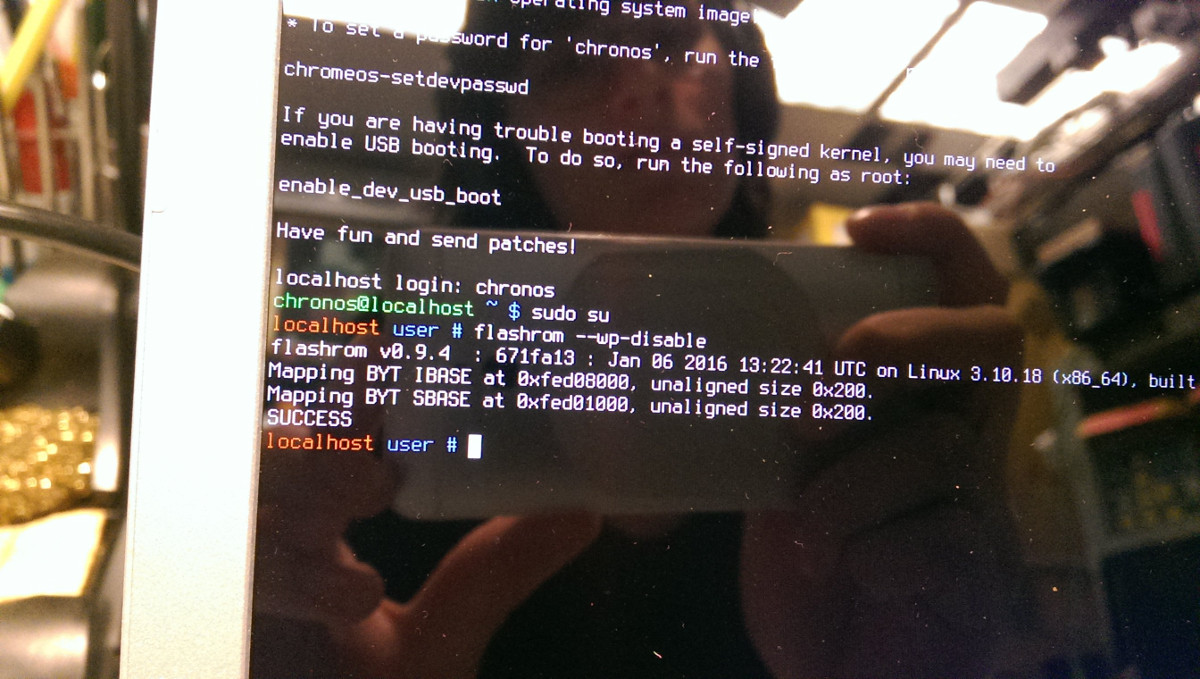
Then I used the following steps:
ctrl-alt- forward at the login screen to drop to shell
login as user “chronos”
sudo su
flashrom –wp-disable
Hooray write protect is disabled! Now I can flash the firmware, according to the instructins https://wiki.galliumos.org/Firmware:
Press ctrl-alt back to drop back to normal Chrome OS, log in, and test the internet connection to make sure you’ll able able to download the firmware script.
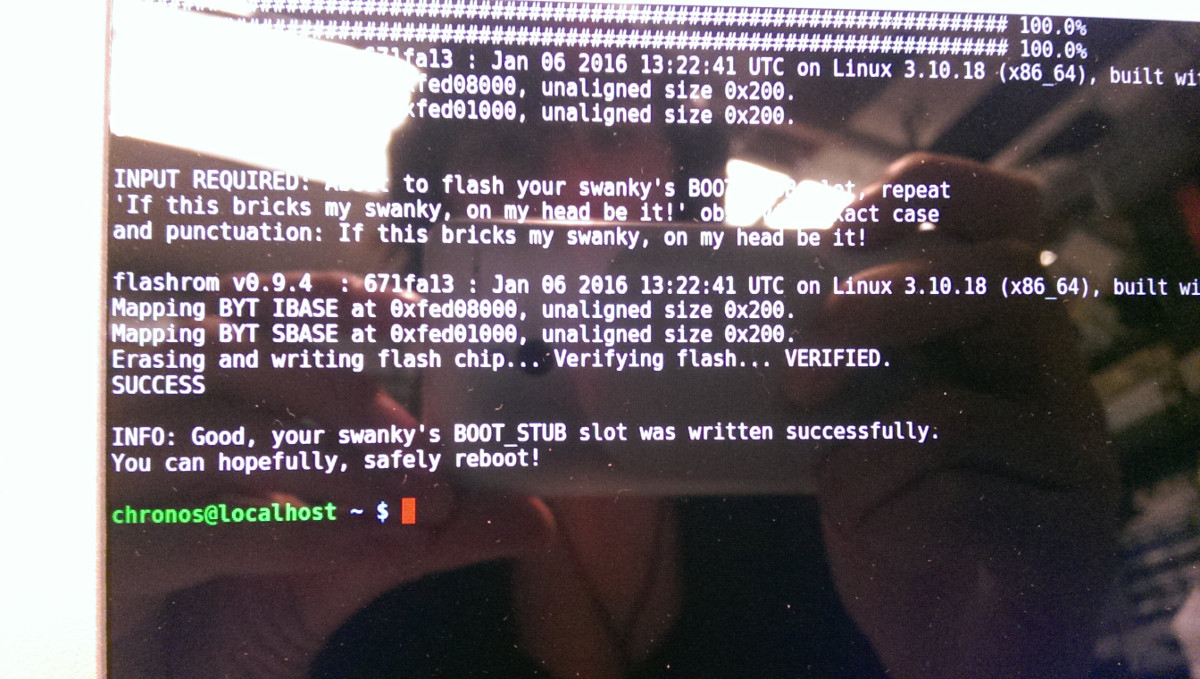
Open a shell with ctrl alt t and typing “shell”, then run
cd; rm -f flash_chromebook_rom.sh; curl -L -O https://johnlewis.ie/flash_chromebook_rom.sh; sudo -E bash flash_chromebook_rom.sh
Note that this is one of the available firmwares, there is also this
Hooray I flashed the firmware! Now I need to reboot with bootable thumb with Gallium OS on it.
Then to get my bootable USB back to a normal usb, I used fdisk to delete the iso partition, and make a new partition of maximum (default) size, sudo fdisk /dev/sdb, and then I formatted it ext4 to be able to use it as external memory, mkfs.ext4 /dev/sdb1, and also renamed it, sudo tune2fs /dev/sdb1 -L “gallium”.
Thanks internet!
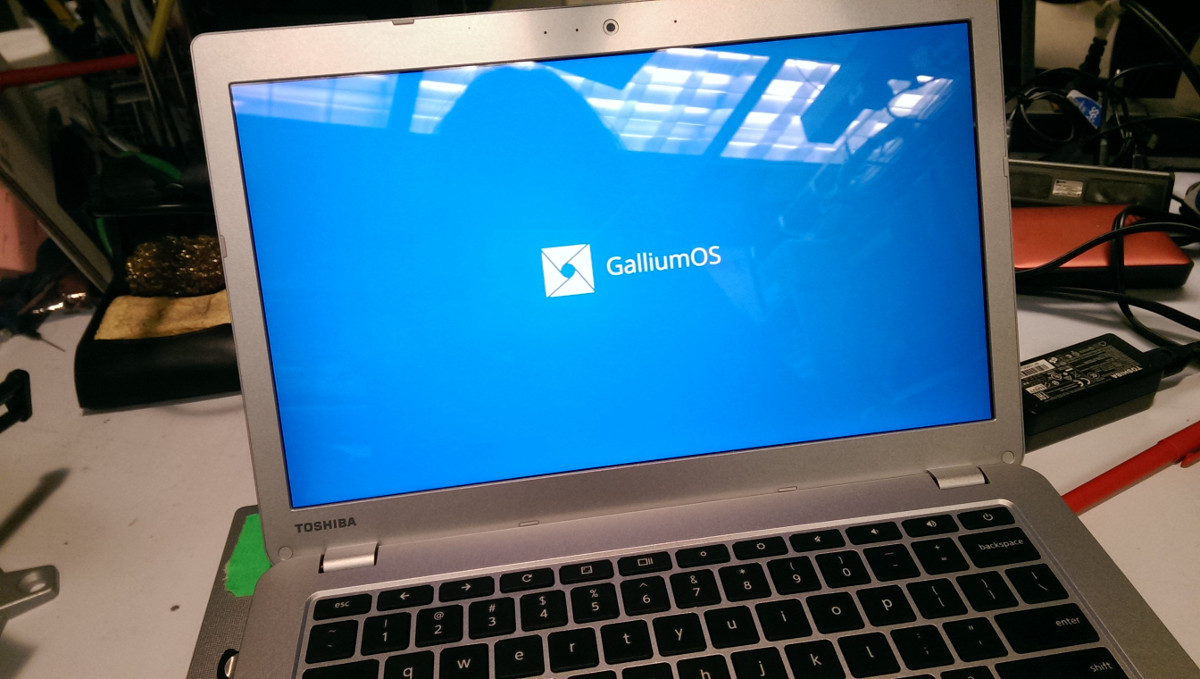
Hooray! Then I installed Gallium which was just like installing any other linux.
